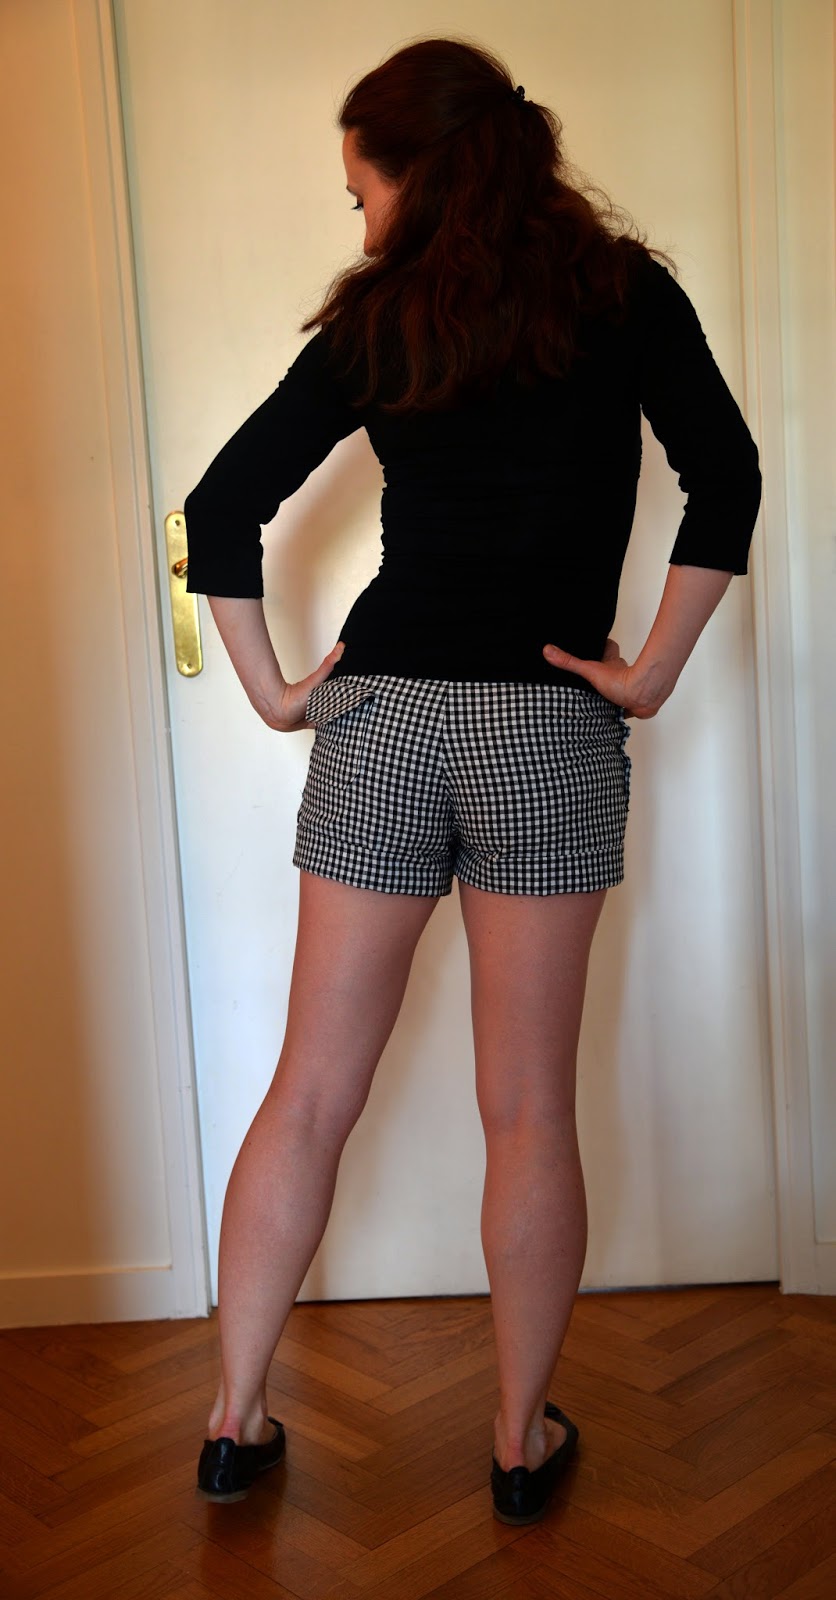
I wanted a
quick project before attacking yet another dress. The summer is still not
coming and we are wearing sweaters and coats, but I figured out that I should
be ready for the high temperatures when they come.
Last year
it was quite difficult to find shorts for my summer vacation, most of all
because I am not used to buying trousers at all and finding the correct fit is far from easy.
I have seen
the Burdastyle Ruby shorts in a vintage version on Wesewretro.com and thought
the black&white combination was actually a good plan.
The
original pattern is Burdastyle Ruby 6005. As I have totally no idea on the
Burda trousers fit, I sew up a quick muslin and realized that it did not fit AT
ALL. I ended up taking my favorite winter short and adjusting the pattern according
to it. Basically, I only kept the idea of side button closing, the waistband
and the pockets.
Another
quite disturbing thing was the included seam allowance. Usually, I tend to cut little
less than the 1.5 cm seam allowance, but I count with the same when sewing. Not
having the seam lines marked on the fabric was somehow strange. As I redid the
pattern, I got rid of the seam allowances and worked my usual way.
I might not
be a fan of pockets on skirts and dresses, however, on my shorts I did not
hesitate a minute. The Burda shorts have one welted and one pouch pocket,
so there we go, two things to learn on one project.
The
instructions for the welted pocket were totally incomprehensible to me so I
ended up watching a tutorial on Youtube to clarify the problematic. I realize
that I could have done even better in pattern-matching, but basically I think
the pockets are pretty neat.
From the
outside, as well as from the inside. Ok, they might not be very large, but a
metro ticket gets in.
As for the
pouch pocket, that was much easier to sew and match correctly on the shorts.
With the same detail inside.
The pouch
pockets, the button closings and the waistband asked for topstitching. I am not
used to that but just following the pattern helped me a lot to make clear
lines.
Then comes
the story of buttonholes. So far, I have not managed to sew a complete
buttonhole on my machine which is supposed to be fully automatic. It was out of
question not to do it in this case: there are 10 buttons on the shorts! Going
back to google and to the machine manual I thought doing everything correctly,
nothing helped, the machine got the left part correctly, only to continue
straight on the right side. After an hour of desperation, I found 2 Dutch videos
which showed ALL the settings in detail, and there I had it: the complete
buttonhole done in a few seconds. All ten in 5 minutes, yohoooo.

When the
shorts was almost ready, I tried it on only to realize the big mistake I had
made. The buttons are supposed to be sewn on a piece extending the shorts part.
However, when attaching the waistband, I pinned this part inside the short and
sewn it in. Result: I was missing a few centimeters needed to close it up. Fortunately,
I had enough fabric to cut the back waistband again (I always have a lot of
fabric remnants - see here)
and redo the whole thing, including the topstitching.
In the end,
the shorts took me some time to finish, due to the form adjusting, numerous
details and my big mistake, but it is good to know that I do have nice and
simple shorts pattern which I will do again for sure.
Inspiration: We
sew retro
Pattern: Burdastyle
Ruby 6005
Pattern
changes: deeper crotch, narrower waist
Fabric: Vichy
cotton
Notions: welted
pocket, pouch pocket, buttonholes
Time to
Complete: 1 week
Total Cost:
17 EUR
First
Worn: Not yet, too cold outside...