Friday, 27 June 2014

Wedding-guest dress - not a success

After muslining this dress for some time, I finally took the courage to cut it in the fashion fabric. I had bought dark-blue silk crepe (or crepe de Chine) which has a great drape, is not too slippery and, above all, is not too shiny. Even like that, the pattern copying and cutting was not the easiest task I have done so far. I had to draw everything on the fabric immediately and ended up having the chalk everywhere. The cat was not allowed to assist as she fell in love with the fabric and I was too afraid she would damage it, not talking about creasing. I used a 1.5m coupon which was just right, for the first time I do not have too much rests (which I would not mind for the silk :o)
Here is me cutting the fabric, as I do not have a proper sewing space, I am just working on the floor in the living room.
 Originally, I bought a dark blue silk-cotton voile for the lining, but after having tried it on another dress I was worried it would add the weight to this one. So on the last minute, I have chosen the Bemberg lining from my stash. I used French seams on the fabric and normal overlocked seams on the lining.

The invisible zipper was surprisingly easy to sew in, or I might be getting used to it. The difficulty was the décolleté: once I have sewn together the fabric (including the rest of the organza strip) and the lining, it was almost impossible to iron it flat. The fine fabrics were just resisting the stiff organza. I had cut another organza strip and sewn in between both of them which helped a little bit. Strangely I did not have this problem with the dress on, but seeing it in the hanger was enough to get crazy about it.
I did all the finishes in hand:
Sleeve hem
Small attachments between the fabric and the lining (on each armpit, as well as on the waist and the hem)
Bottom hem where I attached the fabric to the lining directly
Protection of the zipper end
Attachments for the bra straps 

 I admit that it was the first time working with silk and I did the big mistake of choosing a pattern far away from my size. Even the adjusting was rather tricky.

All in all, I ended up not liking the dress, for the following reasons:
-       It seems to be still little large on the cleavage
-       The organza strips are not even, not the same length and not matching on the back (I cheated and adjusted them little bit, but still…)

-       The ending of the V is puckering out


-       The lining is not attached properly, which is causing further problems

That is where I realized I would not be wearing this dress for the marriage and decided to sew another blue-guest-dress.

Wednesday, 25 June 2014

Blue Guest Dress II.

I did not have much time ahead and most of all wanted to avoid another flop. So let’s go with the known.
I bought 3m of dark blue silk muslin which was slightly transparent, so it was pretty clear a double layer would be necessary and decided to re-use the Butterick 6016. I have successfully tested it and thought that with the appropriate accessories, this would work.
Since I would need little bit of fabric for a purse, I cut out the skirt in double, the bodice lining is in black cotton-silk sateen. It also helps to maintain the form more than the muslin itself.
 The sewing went quite smoothly, I did not use any interfacing fearing it would be visible on the inside. I only used organza strips to maintain the fabric around the zip and a bias strip to maintain the waist.
The skirt is baby-hemmed… 
actually no, the baby hemming is not completed: when testing it I realized it made the hem rather stiff, so I only folded the fabric once. Fortunately, the muslin almost does not fray, so this should work without problems. 
 
The dress will be accessorized with a red bow belt (and red shoes).
Et voilà, my first silk dress completed.


And in action! Unfortunately, it was quite cold that day, so I was wearing a black jacket over it.

Inspiration: matching my new hat
Pattern: Butterick 6016
Pattern changes: the same as on the wearable muslin
Fabric: dark blue silk muslin
Notions: probably none :o)
Time to Complete: 1 week
Total Cost: 49 EUR
First Worn: my cousin's marriage

Friday, 6 June 2014

Brown Flower Dress – Wearable Muslin

I bought this fabric during my first fabric shopping spree. I found a coupon just calling my name – it has all I love: brown, red, green, small flowers and the viscose is just sooo soft and fine. When cutting the fabric I started to think it is probably too fine for a summer dress, and would be more suitable for a top but I had 3 meters of it (115cm width) so the top is still realizable. 
For the first time, I endeavored to buy a pattern different from Burda. I took advantage of a sales period at Butterick and ordered three patterns (by mail… am I getting old?), two of them from the retro collection.
I consider this dress a wearable muslin for another fancy dress to come in the next month. Since I have totally no experience with Butterick, I made a quick bodice muslin for my wearable muslin… can you say that? The sizes also got me puzzled. For the first time I do not cut the smallest one. According to the body measurements I would be a 10-12 on the breasts, 12 in the waist and 8 on the hips, so I cut out the 10 to see. Strangely, even the 10 was somehow large on the bodice. I took in 2cm on the front, 1cm on the back and shortened the shoulder area (as always). 
All in all I was rather surprised how well it fitted, so for the moment: worth the price.

I decided to self-line the dress bodice and contrary to the instructions, put in a vliseline on the shoulder-arm area. The sewing was a real pleasure and went on very quickly. I admit doing some of the adjustments on the half finished dress (not the best idea, I know). The invisible zip is on the side, and got in without any problems. Moreover, the fabric was very easy to iron and did not puff anywhere. 

The pattern asks for back pleats on the whole length of the skirt but it was pretty much clear this would not work on my fabric. I pleated the skirt on the top and that is it.
I already wore it on the first beautifully sunny day this year - here is the result of an hour lunch outside.
The skirt is almost semi-circle, so baby hemming was the only option.
There is also a small bow above the pleats…
 In the end, I was really excited how quick this project was, it was ready in a week-end, during which I have done so many other things. I am giving many positive points to Butterick for the fit (saved a lot of time) and for the simple, though little retro cut, a few negative on the included seam allowance and the super-fine silk paper on which the pattern is drawn. I was very afraid I would damage the pattern just by extending it on the floor. I closed the cat in the kitchen and hurried to copy it to my usual silk pattern paper which is much more cat-resistant.

Inspiration: loving the fabric
Pattern: Butterick 6016
Pattern changes: 2cm on the front bodice, 1cm on the back bodice, 1.5cm on the shoulders, the length of the skirt, no seams on the back bodice (a mistake, but why not)
Fabric: brown flower print viscose
Notions: probably none :o)
Time to Complete: 2 days
Total Cost: 25 EUR
First Worn: first really hot day in June 2014

Faux Me-Made-May 2014

I did not pledge directly to participate in MMM 2014, mostly because I do not have enough me-made clothes yet. As of beginning of May, I have only completed 8 projects, one of them unwearable (from my point of view, but more details on that later).
My aim was only to wear and document at least each of my new clothes once during the month of May. I am saying immediately that I did not manage it with all of them, partially because of the weather and my unusual program during May (too many vacation days, not enough work days), excuses, excuses…


Some observations though:
I sew mainly dresses and skirts. Which is OK for the moment, I almost never wear pants and I tend to wear dresses rather than skirt/top combination. Somehow, I found them more comfortable and easier to match with a jacket (or nothing). It is also incredibly difficult to find nice dresses in my size and to my taste.

I have not made any top yet. I do not have any nice pattern and am quite intimidated by shirts. I should also try a simple jacket as it is a part of my everyday work outfit for the majority of the year. Both are on my agenda already.
I find it quite difficult to find the right pattern because I do not like wearing large/balloon blouses. I do not have a pronounced waist, so adding bulk in this area is never a good idea – it is like directly shouting “I am an apple!”.

I desperately need a spring/summer black skirt, as I own several colored tops (and the tops on my agenda are colored as well), and do not have any unicolor skirt to wear with. I have a few winter RTW skirts which go well with the sweaters, but it is not the case for summer. Even though I like my black skirt with crosses (and I wear it), it is not universal enough. I have just bought the right black fabric, so the skirt is on my to-do list and coming very soon.

I have sewn a pair of shorts during May which I am really happy about, I will be making another one certainly before the big vacation.

I still have one summer dress to do (the fabric is calling me since a few weeks) and then should concentrate to the tops/jackets category.

I need to consume my fabric stock. I am quite limited in space and have done a few purchases with direct projects in my head, I just need to sew them now.

A nice-to-haves would also include:
Funny: dresses...

All in all, I am looking forward to a lot of work to do for the next year and will be happy to present my new wardrobe next May.

Saturday, 31 May 2014

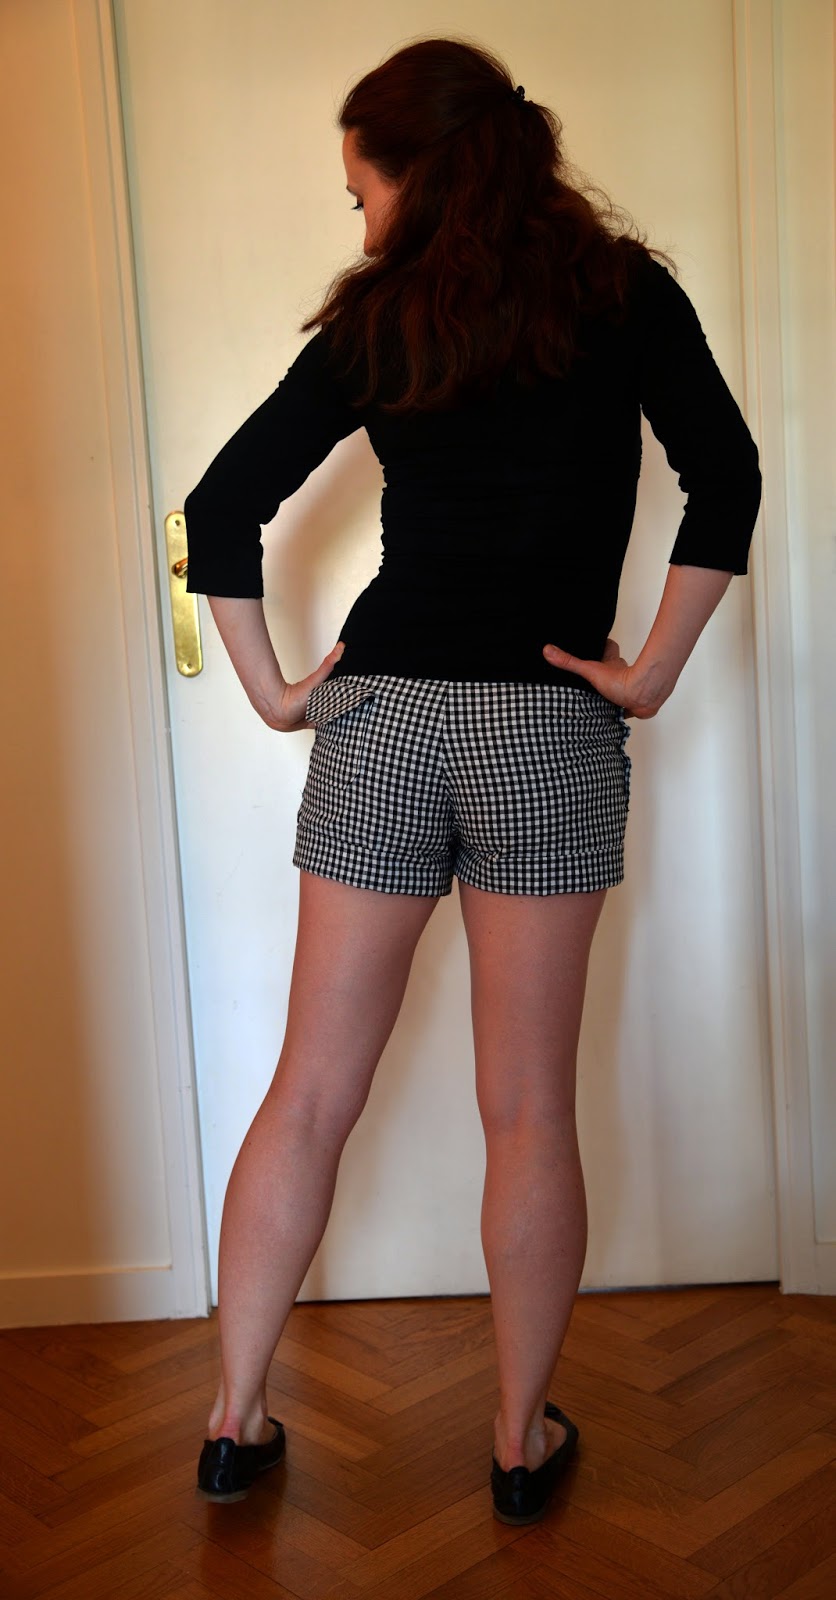
Vichy shorts

I wanted a quick project before attacking yet another dress. The summer is still not coming and we are wearing sweaters and coats, but I figured out that I should be ready for the high temperatures when they come.
Last year it was quite difficult to find shorts for my summer vacation, most of all because I am not used to buying trousers at all and finding the correct fit is far from easy.
I have seen the Burdastyle Ruby shorts in a vintage version on Wesewretro.com and thought the black&white combination was actually a good plan.


The original pattern is Burdastyle Ruby 6005. As I have totally no idea on the Burda trousers fit, I sew up a quick muslin and realized that it did not fit AT ALL. I ended up taking my favorite winter short and adjusting the pattern according to it. Basically, I only kept the idea of side button closing, the waistband and the pockets.
Another quite disturbing thing was the included seam allowance. Usually, I tend to cut little less than the 1.5 cm seam allowance, but I count with the same when sewing. Not having the seam lines marked on the fabric was somehow strange. As I redid the pattern, I got rid of the seam allowances and worked my usual way.

I might not be a fan of pockets on skirts and dresses, however, on my shorts I did not hesitate a minute. The Burda shorts have one welted and one pouch pocket, so there we go, two things to learn on one project.
The instructions for the welted pocket were totally incomprehensible to me so I ended up watching a tutorial on Youtube to clarify the problematic. I realize that I could have done even better in pattern-matching, but basically I think the pockets are pretty neat.

From the outside, as well as from the inside. Ok, they might not be very large, but a metro ticket gets in. 


As for the pouch pocket, that was much easier to sew and match correctly on the shorts. With the same detail inside. 


The pouch pockets, the button closings and the waistband asked for topstitching. I am not used to that but just following the pattern helped me a lot to make clear lines.

Then comes the story of buttonholes. So far, I have not managed to sew a complete buttonhole on my machine which is supposed to be fully automatic. It was out of question not to do it in this case: there are 10 buttons on the shorts! Going back to google and to the machine manual I thought doing everything correctly, nothing helped, the machine got the left part correctly, only to continue straight on the right side. After an hour of desperation, I found 2 Dutch videos which showed ALL the settings in detail, and there I had it: the complete buttonhole done in a few seconds. All ten in 5 minutes, yohoooo. 


When the shorts was almost ready, I tried it on only to realize the big mistake I had made. The buttons are supposed to be sewn on a piece extending the shorts part. However, when attaching the waistband, I pinned this part inside the short and sewn it in. Result: I was missing a few centimeters needed to close it up. Fortunately, I had enough fabric to cut the back waistband again (I always have a lot of fabric remnants - see here)
 and redo the whole thing, including the topstitching.

In the end, the shorts took me some time to finish, due to the form adjusting, numerous details and my big mistake, but it is good to know that I do have nice and simple shorts pattern which I will do again for sure. 


Inspiration: We sew retro
Pattern: Burdastyle Ruby 6005
Pattern changes: deeper crotch, narrower waist
Fabric: Vichy cotton
Notions: welted pocket, pouch pocket, buttonholes
Time to Complete: 1 week
Total Cost: 17 EUR
First Worn: Not yet, too cold outside... 

Thursday, 8 May 2014

Khaki Dress

I am getting late with blogging, as well as with sewing. My wedding-guest dress is finally in process and I am still counting on the long week-ends in May to get it done. The problem is that my agenda is getting full in May, so hopefully will find some time to sew as well.

The weather is still somehow springy, so instead of a summer dress I got back to a wool woven fabric I bought a month ago. It is rather stiff, but in a great khaki colour which is just so difficult to find and I like it so much. I went by it in the shop at least twice before I ended up buying the 1.5m coupon. Of course, 1.5m is for a whole dress, it would be rather pity to make just a skirt. After days of hesitating on whether the fabric is suitable for a dress, I stopped thinking and just cut it out.

The model is Burda 116-02/2014 (again, I think this issue really paid for itself), which recommended rather cotton satin, so my anxiety only increased. This time I did not line the dress, I think it would get even thicker and due to the back closing half of the back would be anyway covered by the fabric and not by the lining.
I did only a quick muslin of the bodice to adjust the sleeves and the cleavage, the dress itself does not have any darts (apart from a small one on the sleeve), the whole adjustment is being created by the middle belt.

Already when trying it on, I realized I do not need the back closing, so I ended up sewing the small buttons directly on the dress, without buttonholes. I also run out of the green thread on the last minutes, so the big buttonholes on the belt are sewn with black, which is quite fine for me as the fabric has black threads in it as well.

The buttonholes drove me crazy though. My Pfaff machine pretends being able to sew the buttonholes automatically but I have not managed to sew one completely. My machine always sewed the left part, the endings and never got to the right part. Finally, I managed to do it in two steps: let the machine do the left part with endings, then move it little bit to the right and sew the left part as the right one. I will have to do some research on this, because what is the point of having a good machine when you are using only two stitches.

In the end, I am pretty happy with the final result (and probably will not cut the dress again to transform it into a skirt as my BF had suggested seeing my initial apprehension). The fabric is not the most comfortable I have ever worn (compared to the Bordeaux wool), but I just love the colour. And it will be a nice warm mid-season dress.
I am even thinking about sewing another model from a cotton print as a home dress.

Inspiration: the fabric itself :o)
Pattern: Burda 02.2014
Pattern changes: higher cleavage, narrower shoulders, higher front darts, shorter skirt
Fabric: khaki wool woven
Notions: buttonholes
Time to Complete: 1 week
Total Cost: 27 EUR
First Worn: MMM 2014

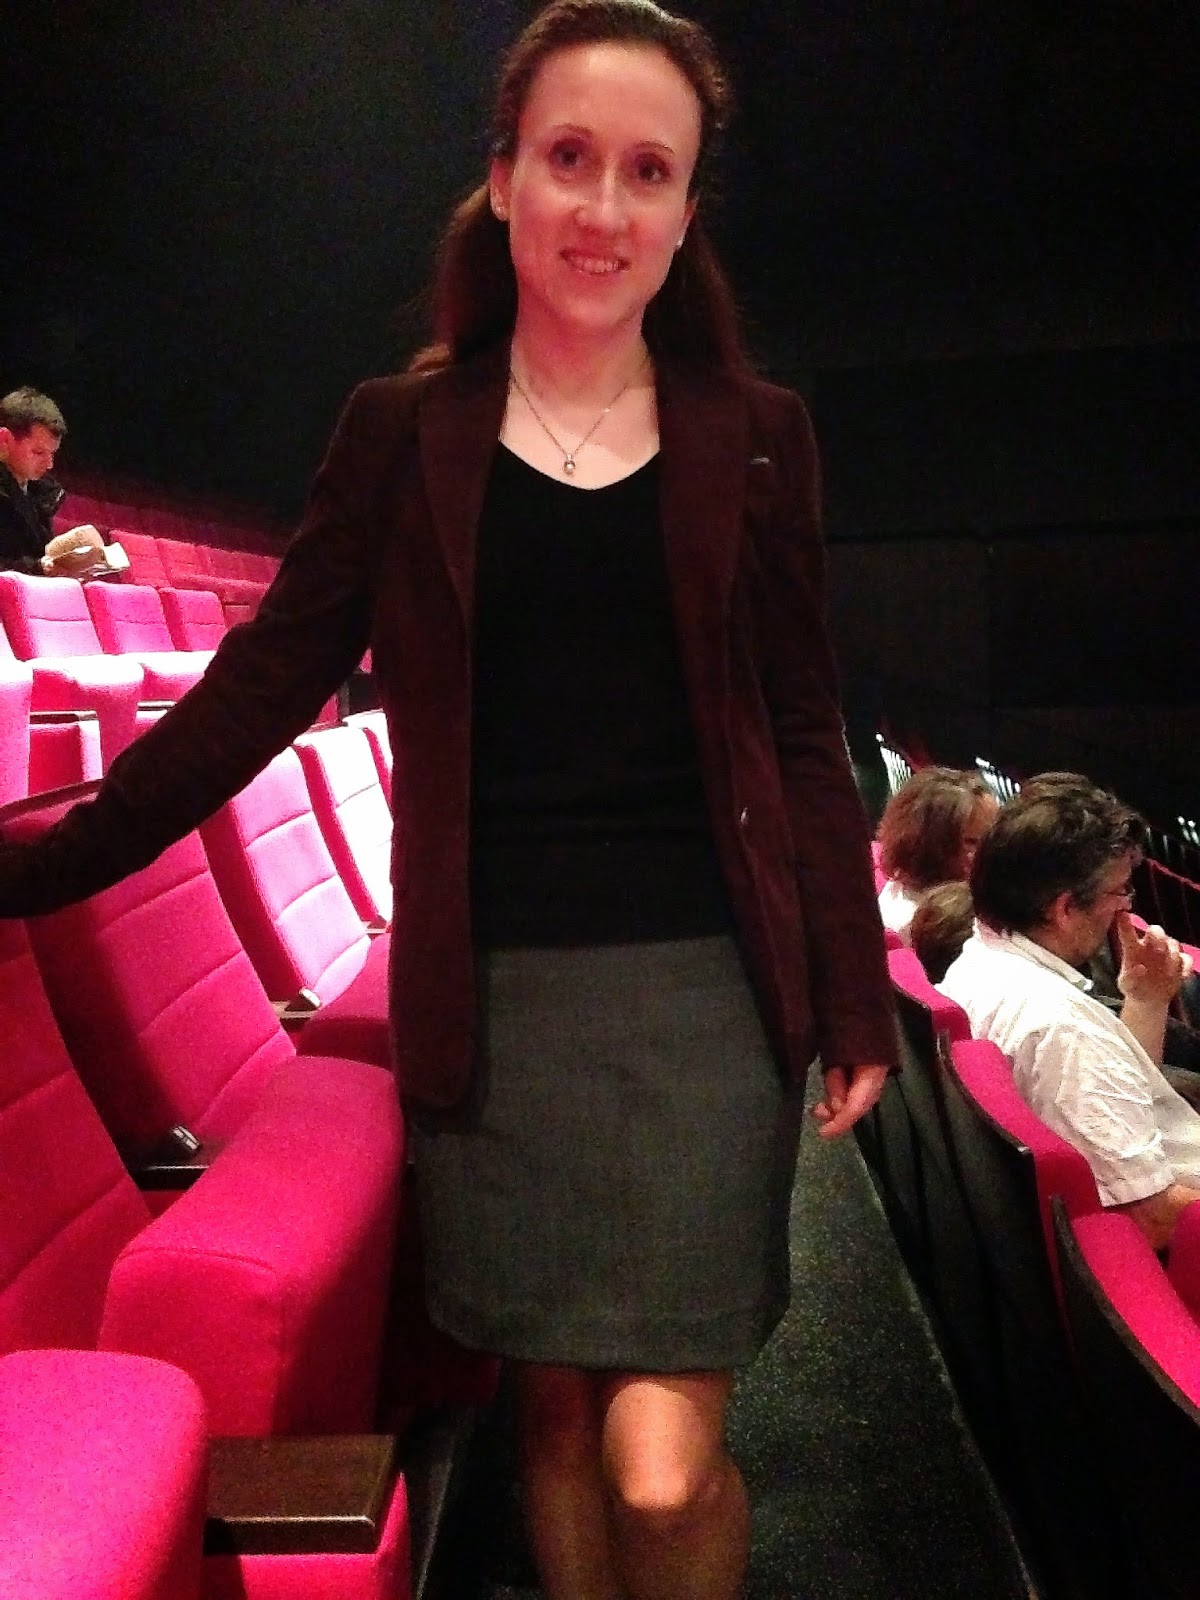
Not-so-Black Skirt

A quick project to see a quick result. The idea was to replace my old black skirt which I had to throw away as it was too large and too used. The fabric is not exactly black (more a very dark grey) and has a design. I bought a coupon of 3 meters so am planning a jacket, as well as a top to add to this skirt.

I used Burda’s 120-02/2014 mini-skirt without any modification (!!!), for once the pattern was perfect, but I usually do not have any problems with fitting the skirts, it is the upper body which makes problems. Also, the Burda miniskirt makes a normal skirt for me :o)
The skirt is fully lined with a side zipper and a large waist band. What I did not think through is the suitability of the fabric design to my pattern. The skirt part is not exactly straight so matching the sides and the skirt to the belt was not an easy task.


What was great with this project was the instant gratification. After one evening the skirt was pretty much completed, the other evening was spent only on hemming, as I hem even the lining by hand, and small finishing on the zipper. Thanks to its looser form, I did not have to adjust the pattern, be it in the beginning or in the end.


After having it worn, I realized that the fabric creases a lot and is not as stiff or universal as my original black skirt. So this skirt will probably be transformed into a summer one, rather than a spring one. I am also planning a short top in the same fabric to create a “sort-of-a-dress”.
Anyhow, I still need a new replacement for my old black skirt…

I have seen this kind of “pattern review” on several blogs, and actually consider it quite useful, so let's try:
Inspiration: my old black skirt
Pattern: Burda 120-02/2014
Pattern changes: none
Fabric: grey cotton satin
Notions: pattern matching
Time to Complete: 2 days
Total Cost: 14 eur
First Worn: April 2014, for work
Wear Again: MMM, for work